Laptop Installation: #
Gather Necessary Tools: #
X-PHY SSD (ensure compatibility with your laptop)
Small Phillips-head screwdriver (if required)

Prepare Your Laptop: #
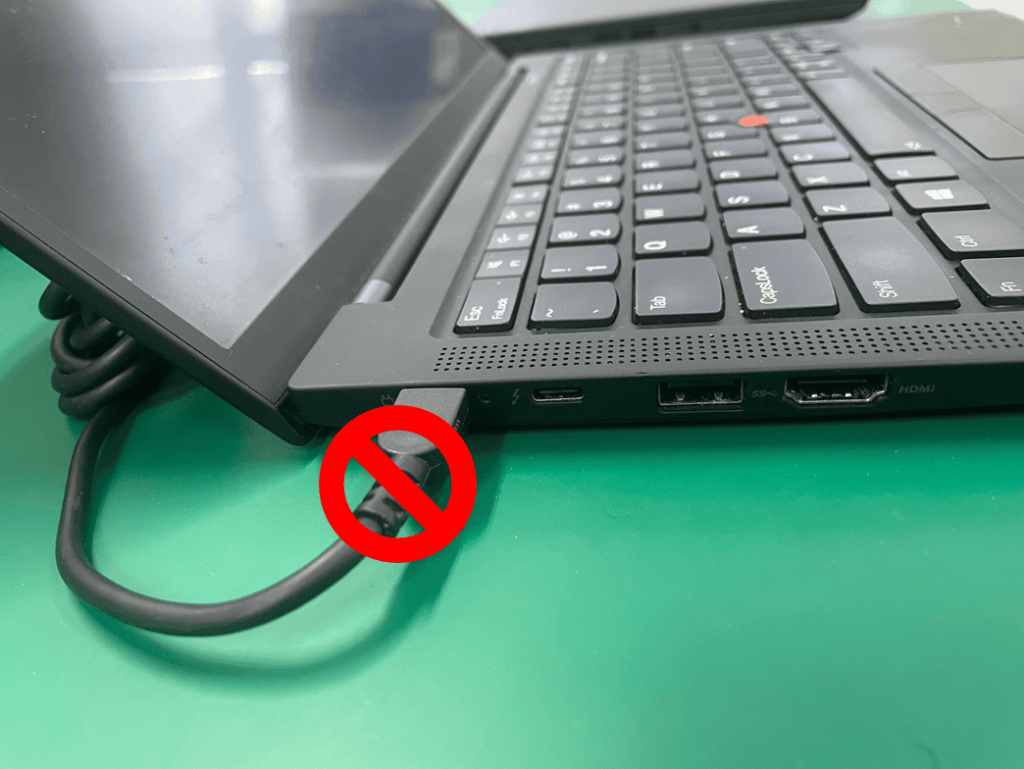
Power off your laptop completely.
Disconnect any external power source and remove the battery (if applicable).
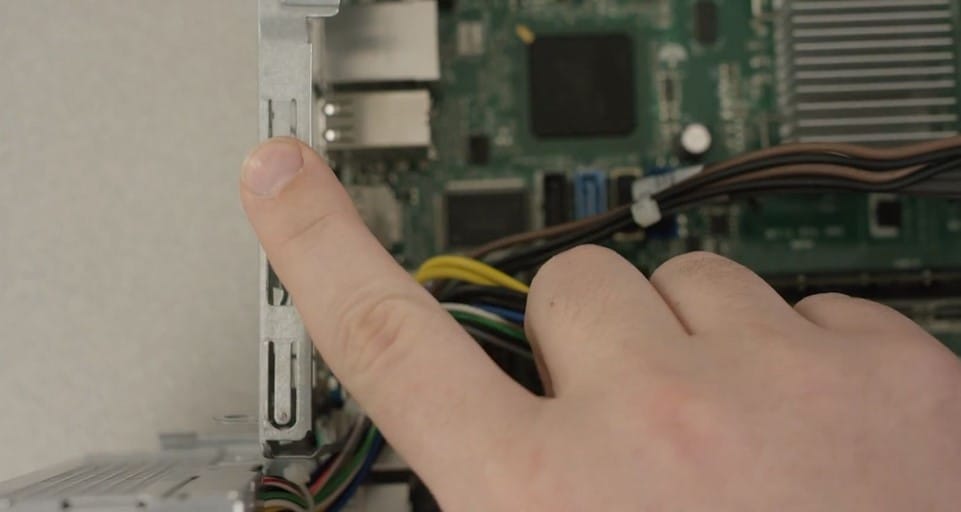
Open the case of your laptop if necessary to access internal components.
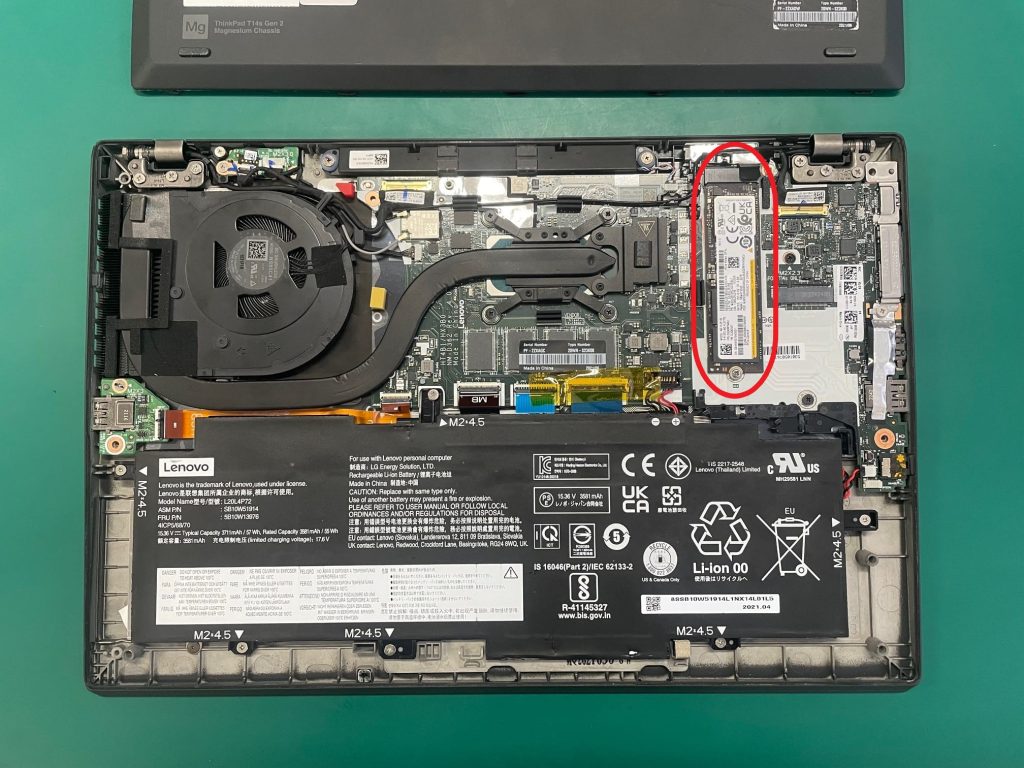
Locate the M.2 Slot: #
Consult your laptop’s manual or the manufacturer’s website to find the location of the M.2 slot.
Typically, it’s located beneath a panel on the bottom of the laptop.
Ground Yourself: #
Before proceeding further, ground yourself by touching an unpainted metal surface. This is an extra safeguard that protects your drive and components from static damage during the installation process.
Access the M.2 Slot: #
Unscrew and remove the drive using the M.2 slot if applicable.
Ensure you’re accessing the correct panel if your laptop has multiple compartments.

Insert the X-PHY SSD: #
Align the notches on the SSD with the key in the M.2 slot.
Gently insert the X-PHY SSD into the slot at a 30-45 degree angle.
Press down firmly until the X-PHY SSD is seated properly.
Secure the X-PHY SSD: #
If your laptop has a retaining screw, use it to secure the X-PHY SSD in place.
Ensure the X-PHY SSD is firmly seated and doesn’t move around.
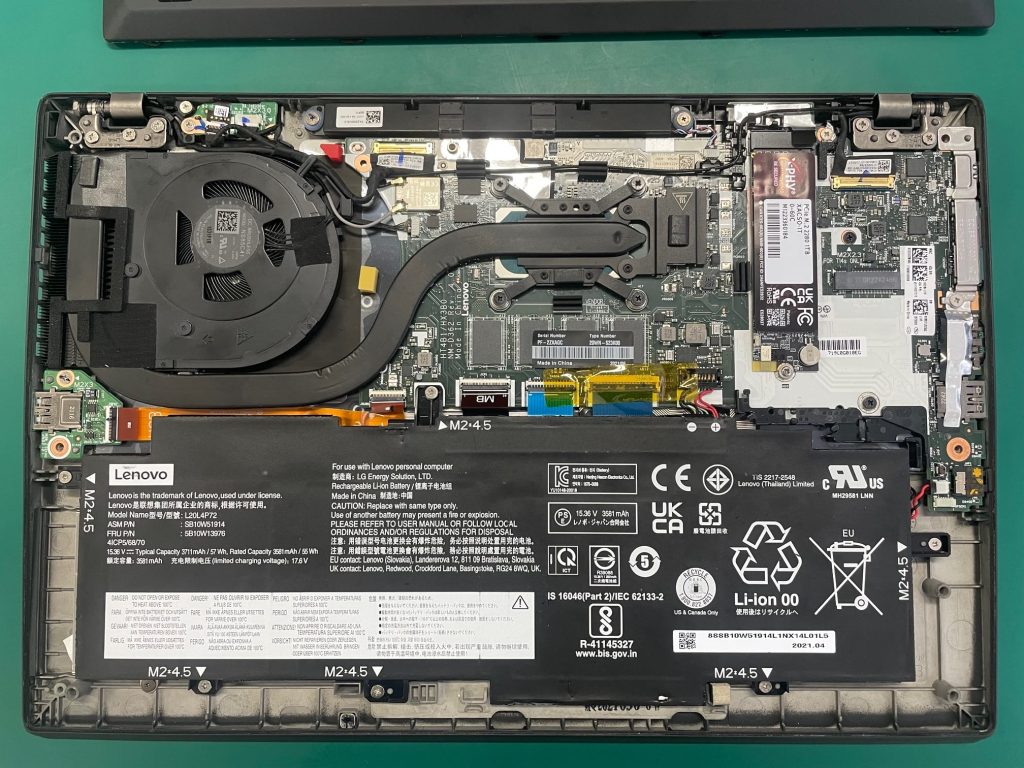
Replace the Panel: #
Carefully replace the panel covering the M.2 slot.
Tighten the retaining screw to secure the panel in place.
Reassemble Your Laptop: #
Reinsert the battery (if removed) and reconnect any external power source.
Power on your laptop and proceed to install an OS on the X-PHY SSD or proceed to install the X-PHY PC application if using as a secondary drive.
Desktop Installation: #
Gather Necessary Tools: #
X-PHY SSD (ensure compatibility with your desktop)
Small Phillips-head screwdriver (if required)

Prepare Your Desktop: #
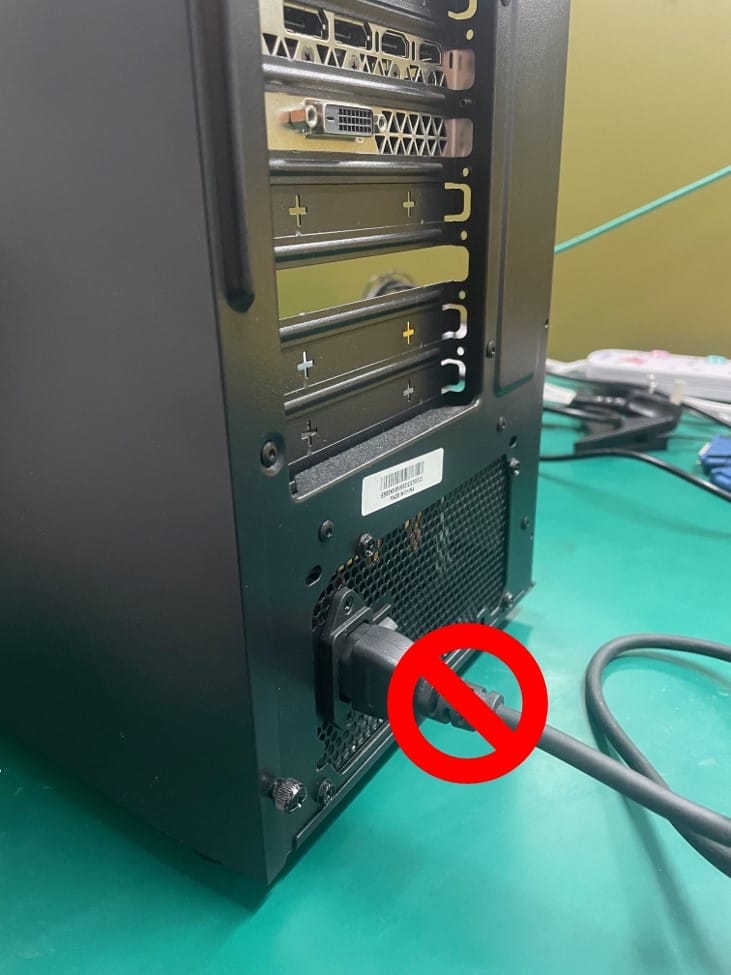
Power off your desktop completely.
Disconnect the power cable and any connected cables.
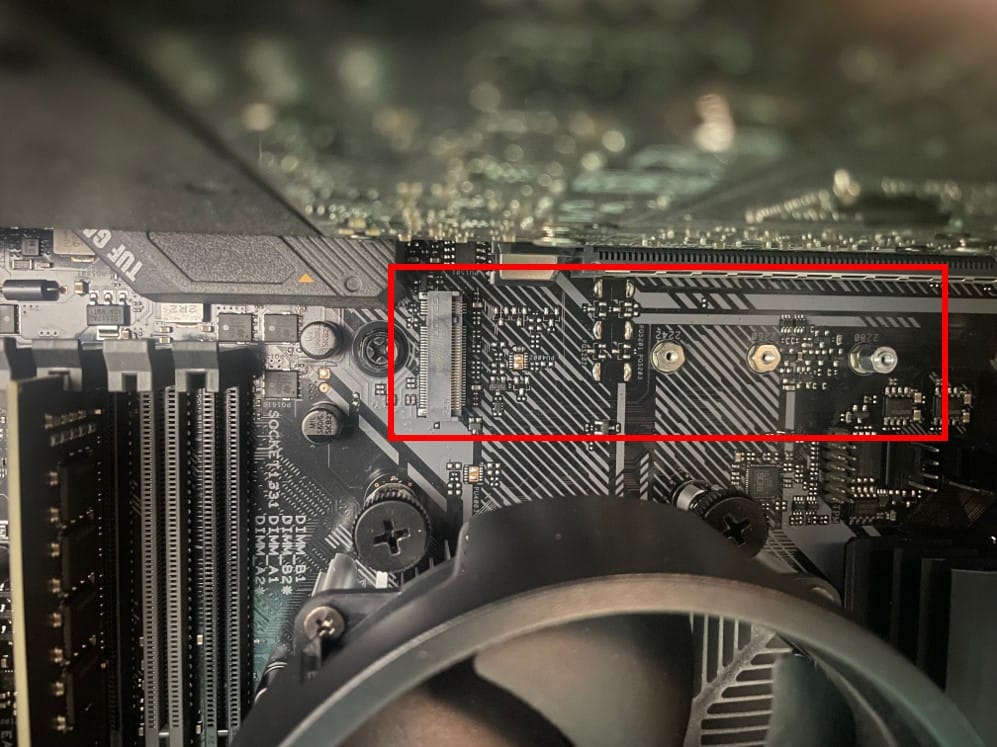
Locate the M.2 Slot: #
Find the M.2 slot on your desktop motherboard.
Refer to your motherboard manual or the manufacturer’s website for its location.
Prepare the Motherboard: #
If there’s a standoff pre-installed for the M.2 slot, leave it as is.
If not, install the standoff provided with your motherboard into the appropriate mounting hole.
Ground Yourself: #
Ground yourself by touching an unpainted metal surface. This is an extra safeguard that protects your drive and components from static damage during the installation process.
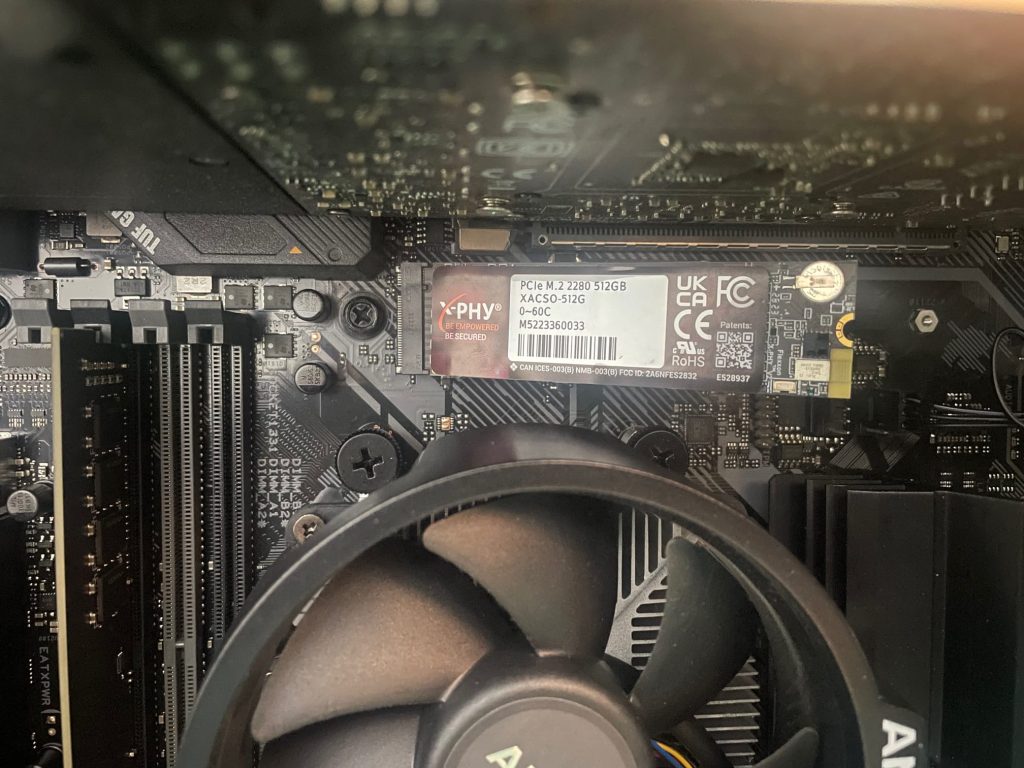
Insert the X-PHY SSD: #
Align the notches on the X-PHY SSD with the key in the M.2 slot.
Gently insert the X-PHY SSD into the slot at a 30-45 degree angle.
Press down firmly until the X-PHY SSD is seated properly.
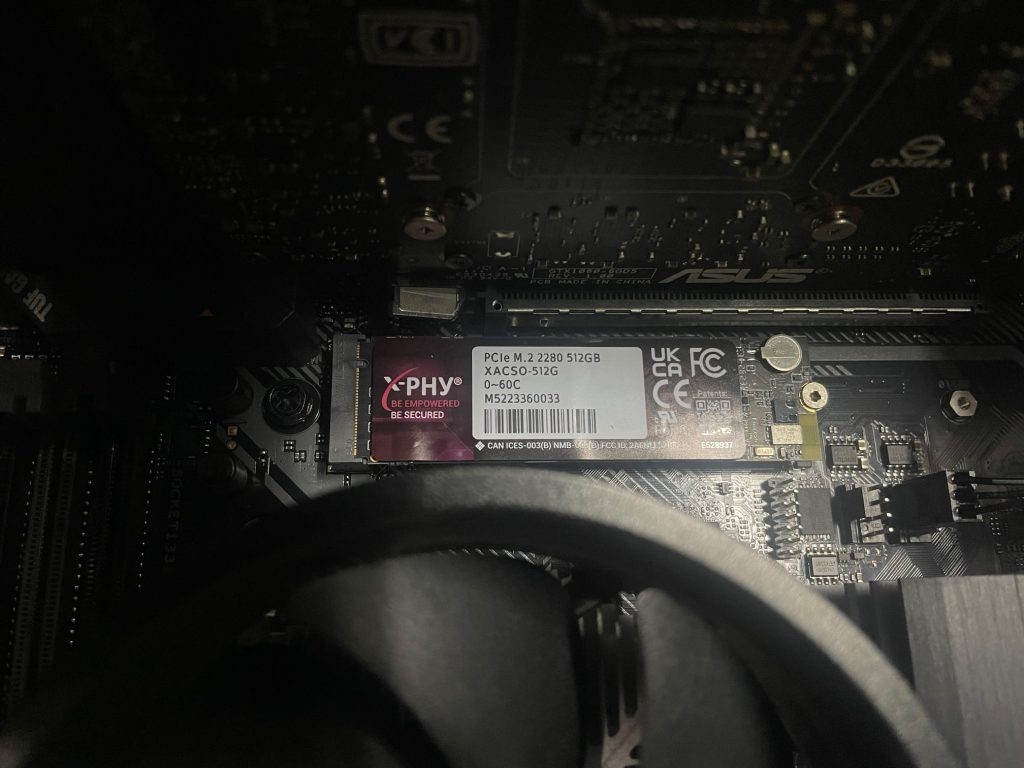
Secure the X-PHY SSD: #
If your motherboard has a retention mechanism, use it to secure the X-PHY SSD in place.
If not, use a small screw to secure the X-PHY SSD to the standoff on the motherboard.
Reassemble Your Desktop: #
Reconnect any cables that were disconnected earlier.
Reconnect the power cable and any peripherals.
Power on your desktop and access the BIOS/UEFI to verify the X-PHY SSD is detected.
Initialize the X-PHY SSD: #
Power on your Desktop and proceed to install an OS on the X-PHY SSD or proceed to install the X-PHY PC application if using as a secondary drive.
Final Steps: #
Enjoy the enhanced security and performance provided by your new X-PHY SSD!
Consider configuring security features and other settings using the X-PHY PC application for added protection and customization.
If you encounter any issues, refer to the X-PHY PC application guide or seek assistance from the X-PHY support team.